I finished a big hybrid project just in time for Easter. I made a prayer board for the family fridge. It holds pictures of our family members, including grandparents, aunts, uncles, and cousins, to be switched out every day. A friend of mine made one for her kids several years ago and I've always kept it in mind for when I had kids old enough to appreciate it. It was easy peasy to do it digitally!
First I made a 12X12 scrapbook page and left enough space for a picture, a tab with the person (or couple's) name, and a pocket to hold all the pictures. I printed the page and cut a small slit on the top and the sides of the pocket to hold the pictures. I also had some pictures printed and trimmed them to 4X4. I glued the page down to a 12X12 cardboard, leaving room inside the pocket for the pictures. I printed some tabs, adhered velcro to the pictures and tabs, and magnets to the back of the board and I was done! When not in use, the pictures and tabs are velcroed together and stored in the pocket. I plan on making more to give as gifts, especially to our godchildren.
Here is what the page looks like printed:

And here is the completed prayer board up on our fridge:

Credits: Mandy Mystiques' Little Back Pocket; Cori Gammon's Nicholas alpha; Cross element from Misty Cato & Julie Billinger's Because He First Loved Us kit


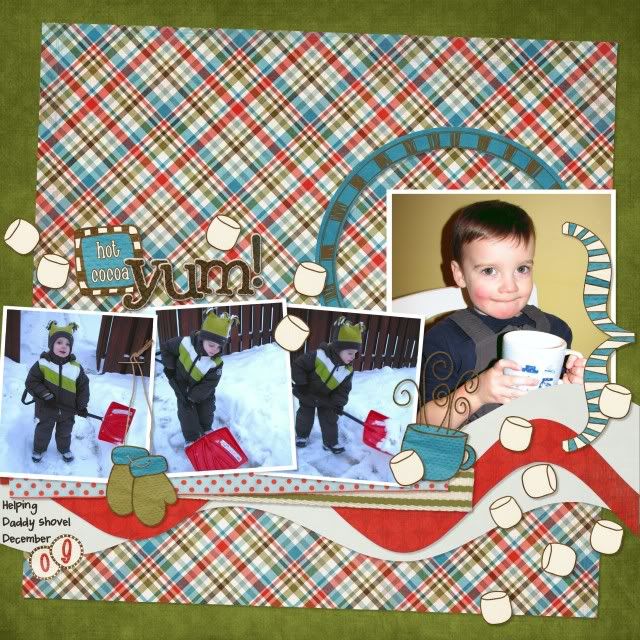 Credits: Dec Color Play: Lucky Smith's Warm Wishes; Dec Color Play: Bella Gypsy's Very Boyish Christmas; template from Connie Prince's Let's Get The Party Started (flipped)
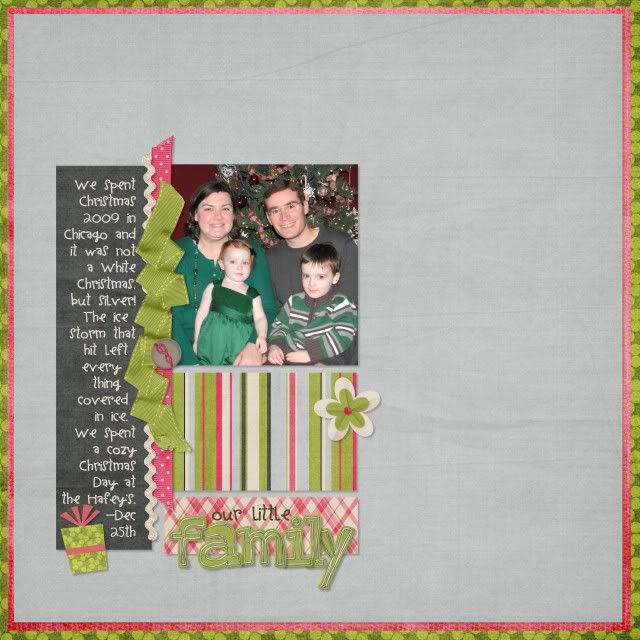


 In this next shot, the cars as well as the rug lead your eye up the picture toward the focal point.


